Fourth Doctor
Creating the 4th Doctor
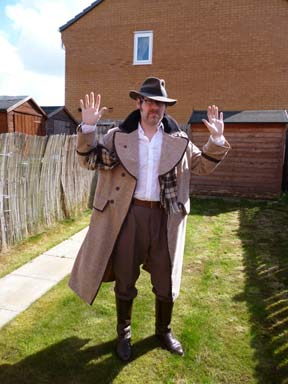
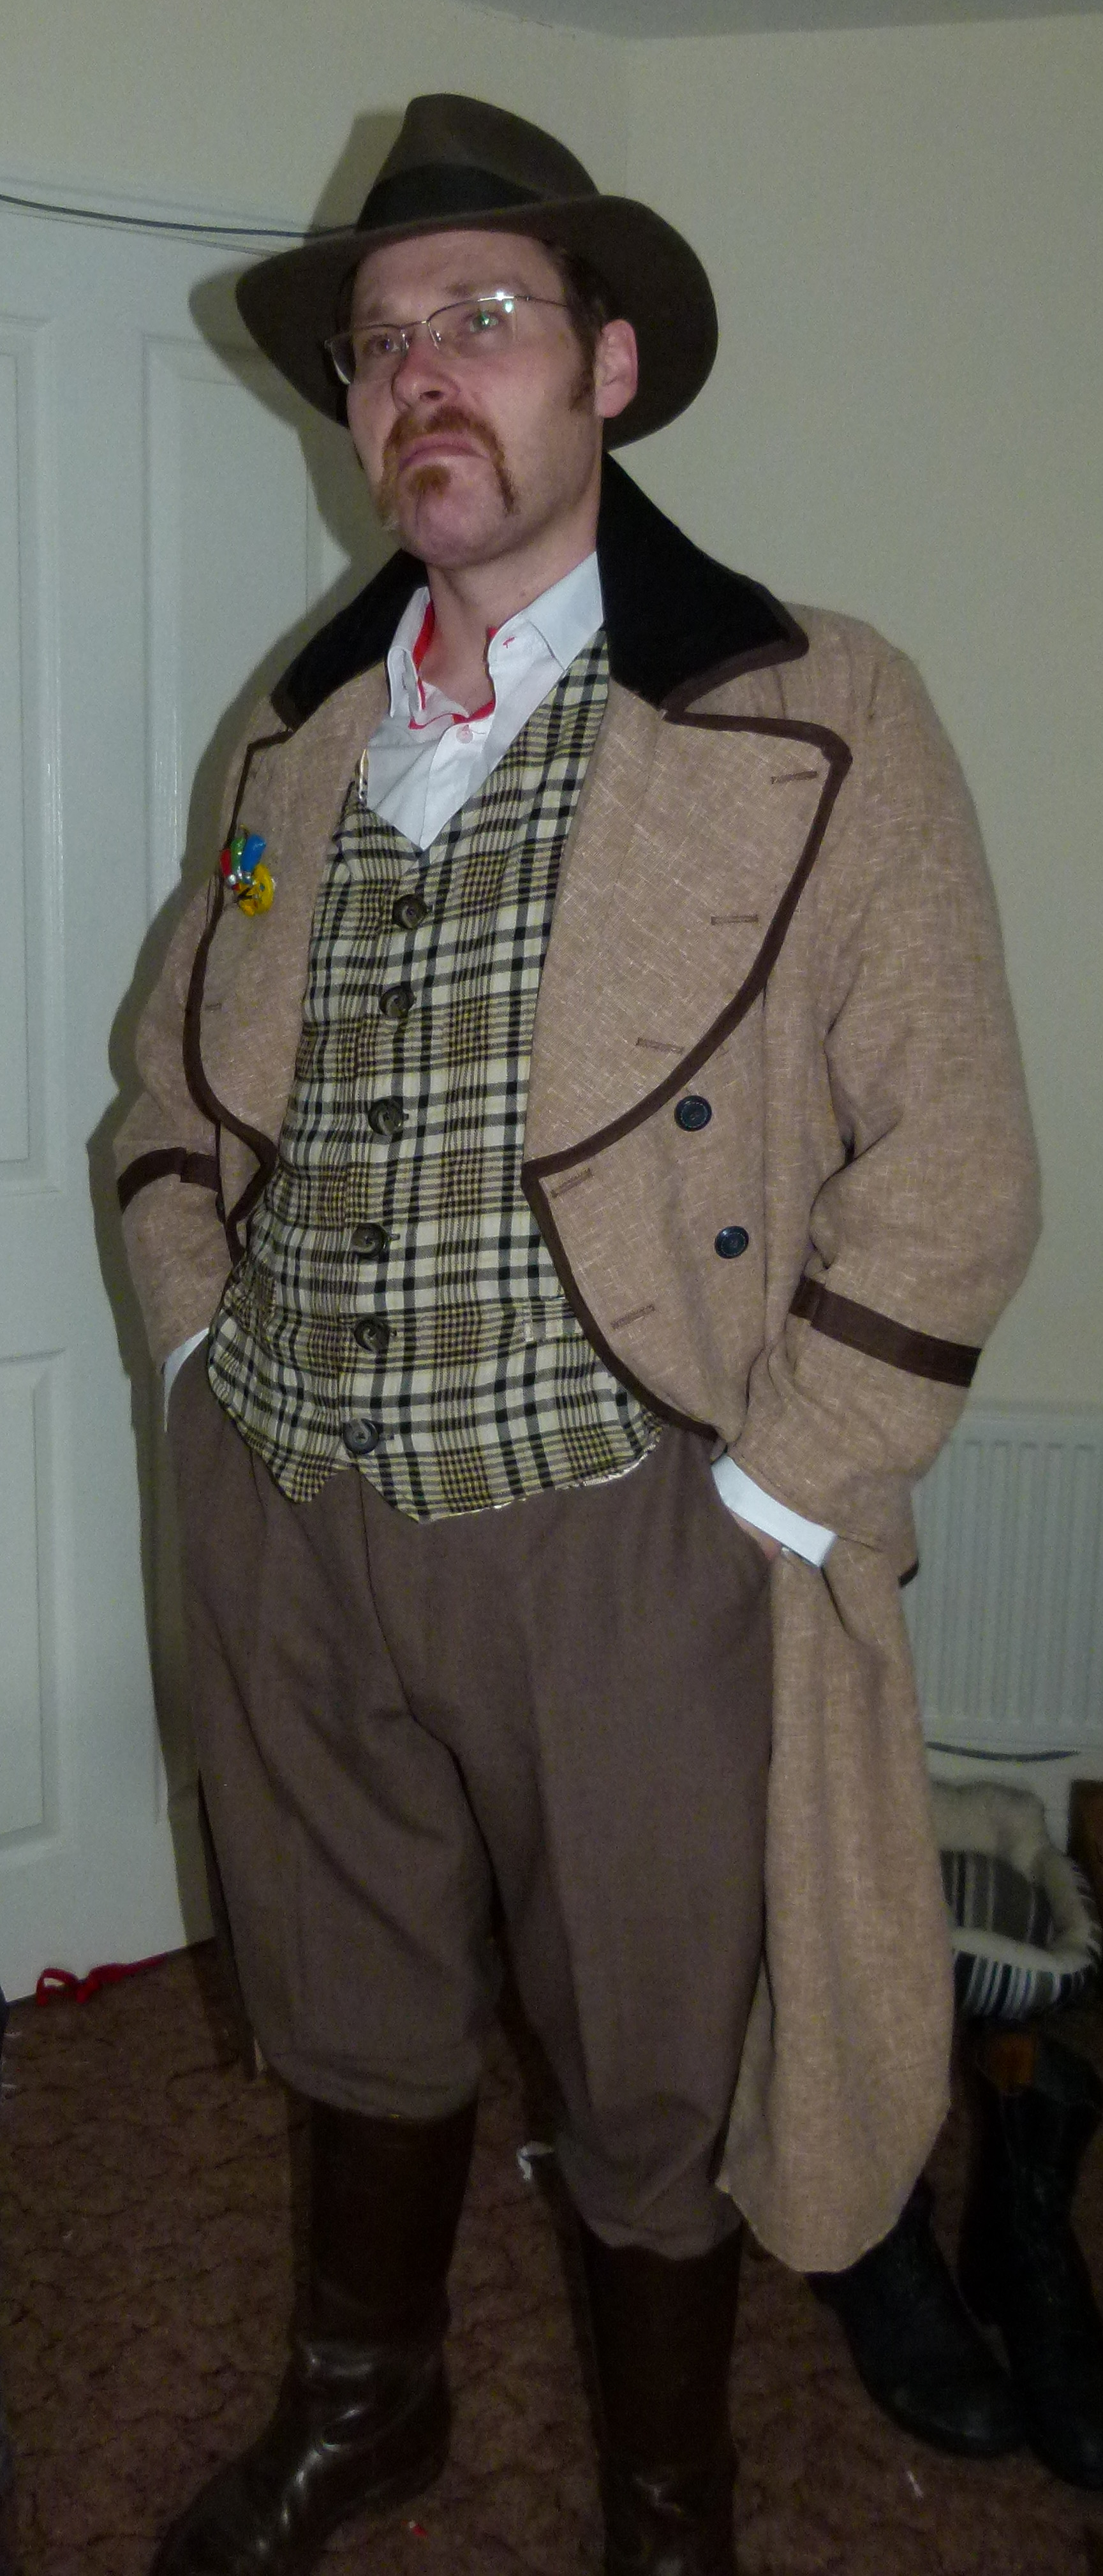
Season 17 frock coat
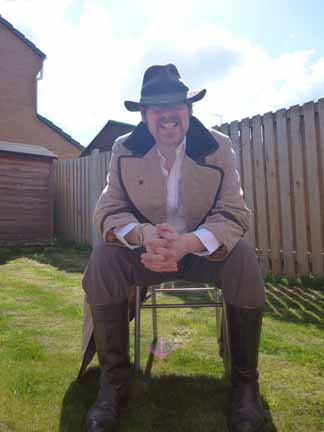
(This coat is quite a difficult
one to make and really requires at least a basic knowledge of making coats.
I wouldn’t recommend this as a first attempt.)
Tom Baker’s 4th Doctor
wore a variety of different coats during his mammoth seven year stint as the
eponymous TimeLord ranging from a natty red corduroy hacking jacket at the
beginning of his run to a plumb red woollen copy of a 19th
century Russian greatcoat at the end but the coat we are dealing with here
is the frock coat he wore mainly during the 17th season.
Having long wanted a version of
this jacket I was put off trying it as I had no idea how to make a double
breasted frock coat and only had a pattern for a single breasted one. This
meant research. To the internet!
Now if you google ‘making a doctor
who coat’ you will come across Steve Rick’s blog site and this is a great
start to seeing what goes into making a coat and if you follow it along as
he learns it’s a great learning tool. On his blog he has a few pictures of
some tracing he made of the Romana version of the Doctor’s coat, which was a
copy in pink but had the same general layout. By studying the pics I was
able to gain some feel for what needed changing on my faithful old
Simplicity pattern.
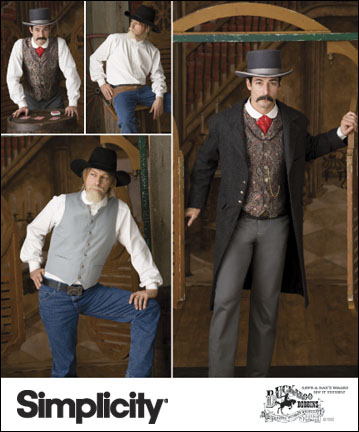
It wasn’t just as simple as
extending the front panels but totally redoing the collars too, so I redrew
new versions of the pattern parts for the front panels, the front facings,
the lower skirt front and facing and the collar pieces. To get that full
skirt section that the real coat has requires adding a panel to the lower
section which also allows for the increase in width of the top section.
Now Steve, being the professional he
is would have made a calico test coat to see if the patterns work but being
the ‘throw yourself in’ type and knowing I had a large amount of the
materiel I was going to use I decided to get right into the coat.
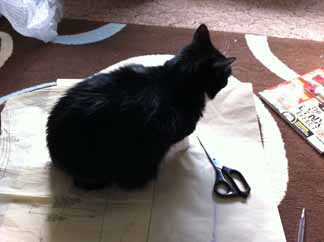
Now the internet is an amazing
creature and is so helpful in many ways but when trying to find something
specific it is very important to actually start visiting haberdashery type
emporiums and feel the cloth. Something that looks ideal can be useless
because it hangs wrong and drapes like a carpet rather than the coat or
jacket you want. The main place I use is called Aberkan (www.aberkan.co.uk) and is a remainder type supplier which is a
double edged sword, in that they have end of run materiel that is very
affordable but in limited quantities, usually on a ‘when it’s gone it’s
gone’ basis, so buy everything you need, and then some. Also it pays to have
a few projects in mind so that if you can’t find that perfect cloth on one
visit you may spot something else for another project.
The items needed for making this
coat were 4 metres of the main biscuit/grey fleck blend (wool would be
better but that limits your choice to high end suppliers) 3 metres of
suitable lining (I used the roll of gold polyester that I used on the 5th
Doctor Coat) 6 metres of brown trim or bias, 8 buttons in brown, approx 1
¾“, two shoulder pads and a half metre of fine corduroy cloth in black for
the collar.
Follow the instructions for the
Simplicity frock coat for the majority of the time but remember you need to
make four pockets as this coat has two pockets low on the backside flaps.
These need to be inset and if you have never done a pocket before then a
search on YouTube will give many videos of the idea behind them. You could
always make these non-functioning pockets if this is going to be a
convention costume but once you get the idea they really are not too
difficult to do and it adds so much to a coat to have working pockets.


The new skirt panel is sewn to the rear of the side bottom panel and the lower pocket lies across this seam. The waist pockets are sewn further forward than the Simplicity instructions say due to the double breasted nature of the coat. The front of the pocket is just at the point where the buttons start.
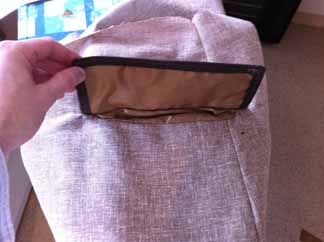
The simplicity instructions are
then followed pretty much as is until you get to the sleeves, where you need
to sew in the brown trim that goes around the cuffs. The one drawback with
the Simplicity pattern that I learned of old is that if you follow the
pattern lines the sleeves are sewn in a way that leaves a very baggy front
shoulder and you need to sew the top of the sleeve a good 3 to 4 inches into
the coat shell to get a good look. This takes practice and on the first go
just baste the sleeve in and keep trying the coat on.
The new collar is of a slightly
different shape and much larger than the Simplicity one but is otherwise
sewn in the same. The liner is made as per the instructions but remember the
extra skirt panel. (I forgot and wondered why the lining was tighter than
the shell) The shell and lining are lined up and pinned together so that you
are happy it all fits, then its sewn together and turned the right way
round. This is usually the point where all my happy thoughts built up during
the making dissipate as I try on the nearly complete coat and realise it
looks like a sack of potatoes on me. This is because it needs adjusting. All
coats do. Getting it right first time is next to impossible and you may have
to take in a seam, or redo a panel etc.
Once I was happy with the fit I
hemmed the coat as this can change the hang of the coat in many ways and
tried it on. The fit was good, the hang seemed spot on, especially the baggy
rear and I wore it up to show Mrs M who despite having never seen anything
other than a few minutes of ‘City of Death’ the night before had spotted the
perfect cloth at Aberkan and now said “The lapels are wrong.”
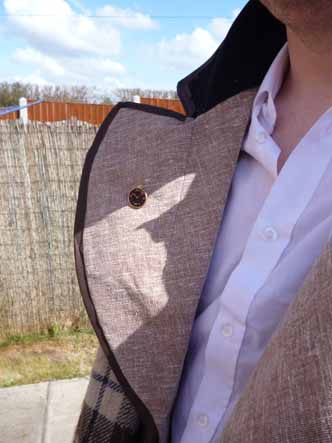
I had her take a few pics as
looking in a mirror never works and studied them against pics of Tom and
sure enough the line was wrong, I had adjusted it to be more like a
traditional coat than the strange rounded lapels the real one has.
Normally this would be a big worry as to redo lapels you need to
unhem the coat and start unpicking seams, which is a whole lot of no fun.
This coat is trimmed in brown bias though so all seams are hidden along the
coats outer edge, meaning all I had to do was sew the lapels while the coat
was the right way round along more accurate lines and then just trim off any
excess cloth. Simples.
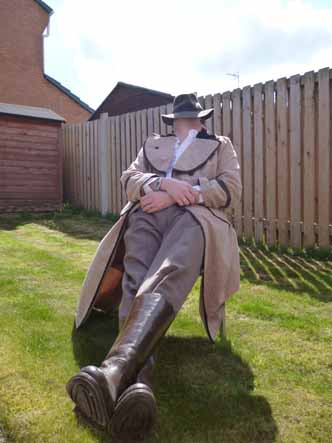
When this was done suddenly the
coat sprang into life and started to look like the TV version. All that
remained was to trim the coat, which is dull but easy enough, and to attach
the buttons and sew the button holes. (This turned out to be a long winded
job as I had lost my sewing machine’s button hole foot so had to send off
for a new one)
With everything done I can say I
am very, very pleased with how this one came out. It is right up there with
my 5th coat as a favourite and looks pretty cool when worn with
suitable clothing. Mrs M is knitting me a scarf to go with it too. Sorted.
